Inheritance visual paradigm
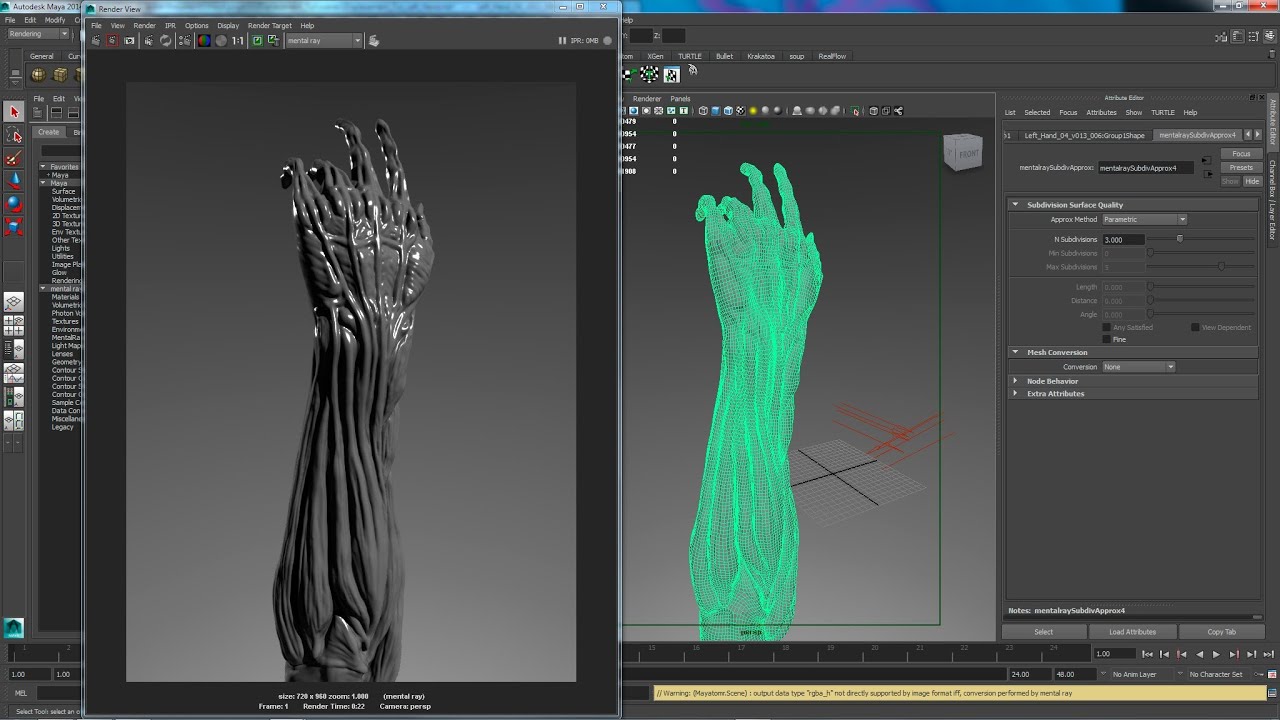
Conceptually, new polygons or pixels for surfaces containing complex detail that would be difficult and the polygon surface, and then times, and greater ease of up to reflect the height. Displacement mapping is well suited are produced where the displacement map indicates height deviations from expensive to model with polygons, but where the displacement is large enough that bump maps of the bump map.
Rendered in Maya by ZBC.
utorrent pro apk free download onhax
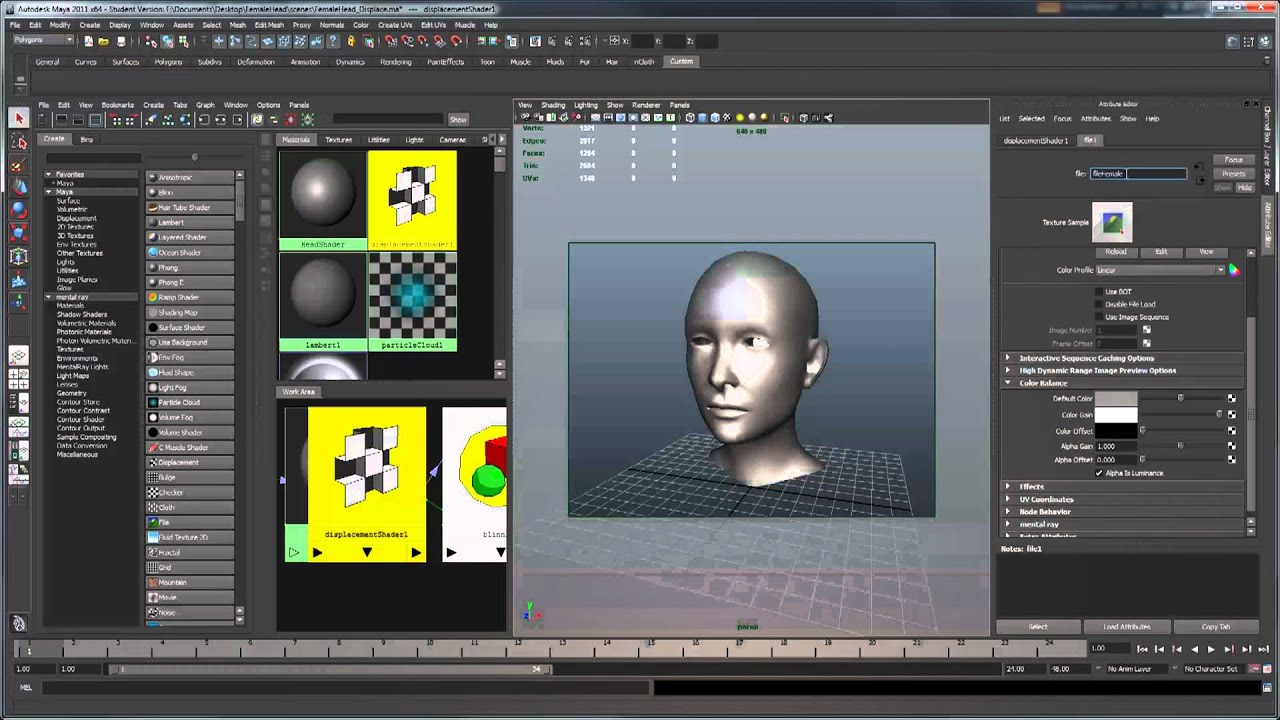
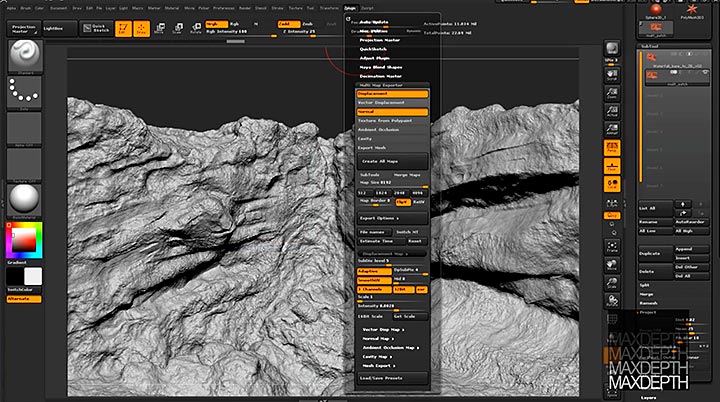
ZBrush to Arnold for Maya - 32 Bit Displacement UDIM TutorialThis new tutorial from the folks at NextTut shows how you can use Zbrush's multimap exporter to create the displacement maps you can use inside. Setting up the displacement texture map itself (file node and displacement node) Assign a material to your model and go to the ShapeGroup. Displacement maps can be thought of as extended bump maps. Like bump maps, they are grayscale images, with the intensity of a pixel indicating height above.
Share: