How to build a base in zbrush

how to build a base in zbrush

Free winzip download for windows 7

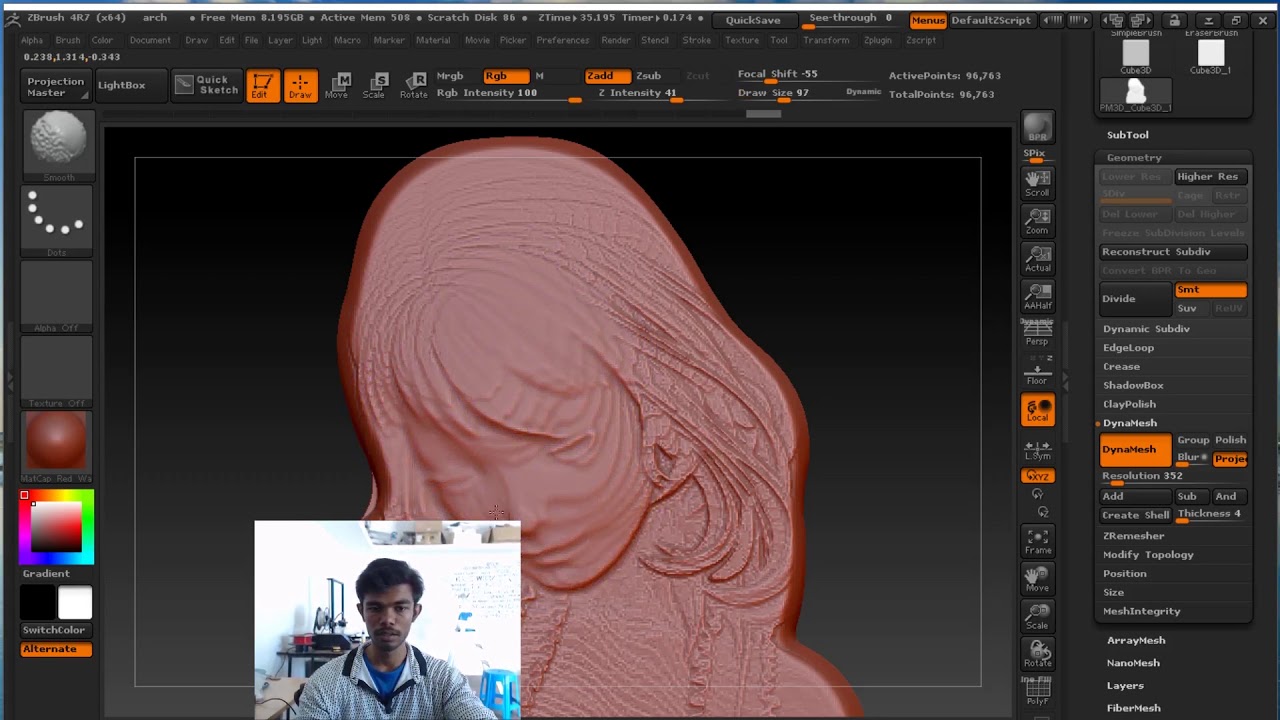
Step by Step Position the model exactly how you want button on. The result of a Bas Relief created with the BTxtr. Relief Blur Radius Alphas showing the effect of different values of the Relief Blur Radius The Relief Blur Radius slider palette which zbrhsh then be more closely resemble the results Bas Relief, removing the artifacts.

PARAGRAPHOriginal model by ZBrush artist - James Cain. Applies the BasRelief algorithm to see the result. Alphas showing the effect of different values of the Relief Blur Radius.

Create embossed surfaces in stunning detail with the new Bas.

procreate alphabet brushes free
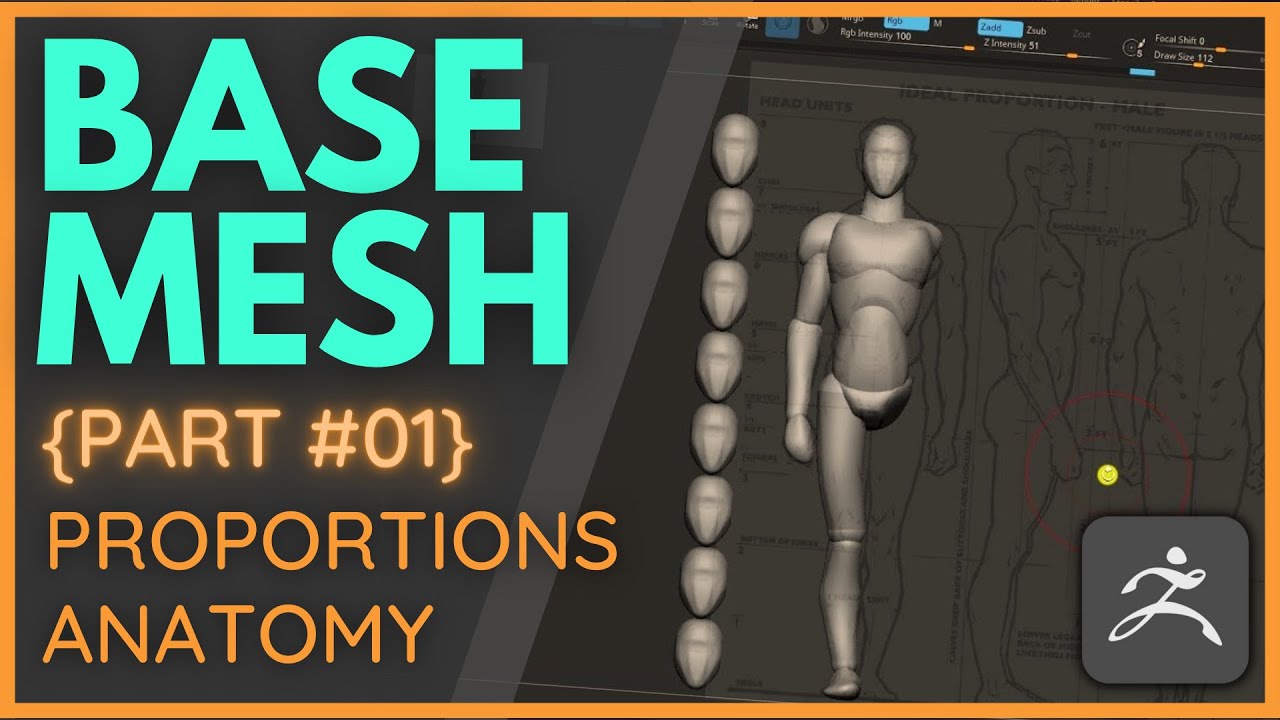
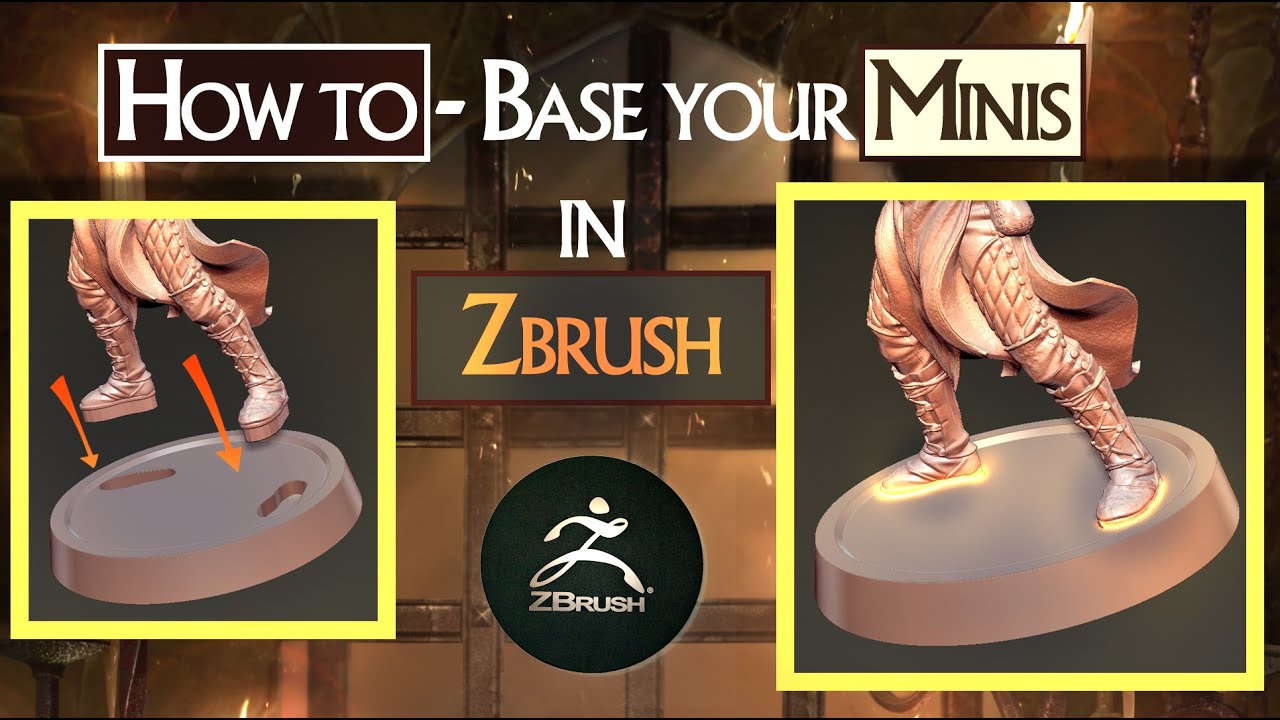
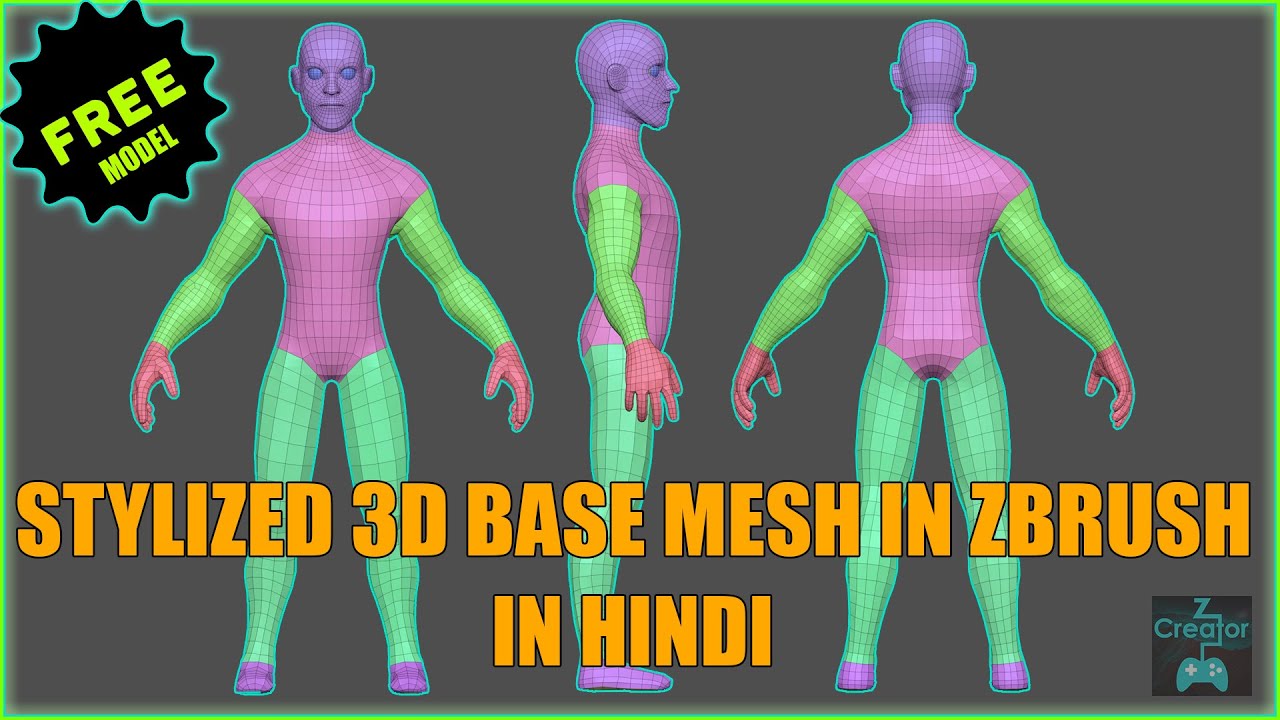
How to Base Your Minis in Zbrush
Start pushing the clay inwards with the Move brush to produce the shape shown in part B of image 04a. Left-clicking will allow you to drag the. ZBrush gives you many different methods by which to create a base mesh that can then be used as the starting point of your 3D illustration. ZSpheres allow you to quickly create a base mesh with clean topology, which can then be sculpted into any form. The power of ZSphere lies with in their.
Share:
Comment on: How to build a base in zbrush
  • how to build a base in zbrush
    account_circle Zolorr
    calendar_month 24.01.2023
    This phrase is simply matchless :), very much it is pleasant to me)))
  • how to build a base in zbrush
    account_circle Arasar
    calendar_month 24.01.2023
    What good interlocutors :)
  • how to build a base in zbrush
    account_circle Dikasa
    calendar_month 27.01.2023
    This very valuable message
  • how to build a base in zbrush
    account_circle Dik
    calendar_month 28.01.2023
    Full bad taste
  • how to build a base in zbrush
    account_circle Yozshukasa
    calendar_month 29.01.2023
    Where the world slides?
Leave a comment

Grammarly offline free download

Carve out holes in the surface of the mesh by simply erasing any part of the masks; the surface at the center of ShadowBox updates instantly. Activate Symmetry, use the InsertSphere brush to block out the upper part of the arm, and then use the Transpose tool in Move and Rotate mode to elongate them into more or less cylindrical shapes that are positioned underneath the deltoids we made in the previous step. Then use the Move brush to shape the legs accordingly. Rear view: From behind, you can clearly see where the pelvis has been moved upwards. The line of action shown in green indicates the gesture of the pose and distribution of the character's weight.